Attribute import using Channable
Steps:
- In Channable:
- Before you begin
- Configure project fields
- Add custom xml feed
- Activate
- In Tweakwise:
- Import the attribute feed
In Channable
Follow the next chapters to set up a feed correctly in Channable.
Before you begin
Make sure you have the correct data set-up. In this example we're using the fictive data created in Create a visual feed using Channable.
Configure project fields
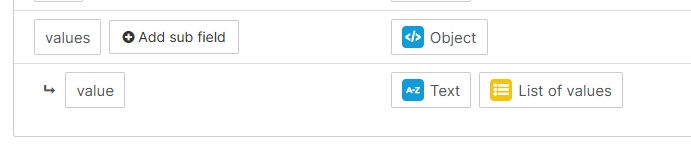
Go to Setup > Project fields and make sure values & value are available.
- On top of the field, click Add project field
Name: values.
Type: Object.
List of values: off.
Save. - On values, click Add sub field:
Name: value.
Type: Text.
List of values: on.
Save.
The project fields should contain this structure:
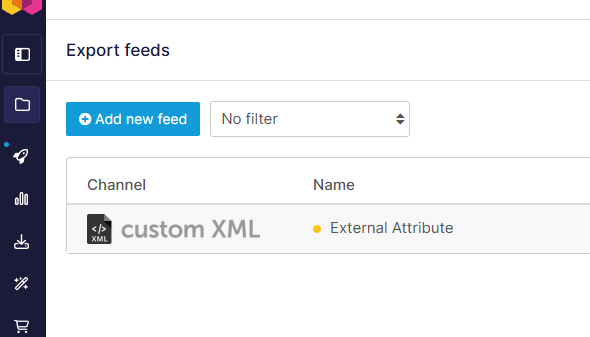
Add feed
Go to Feeds > Add a new feed. Search for custom xml. Select custom XML. Give it a nameand hit Continue.
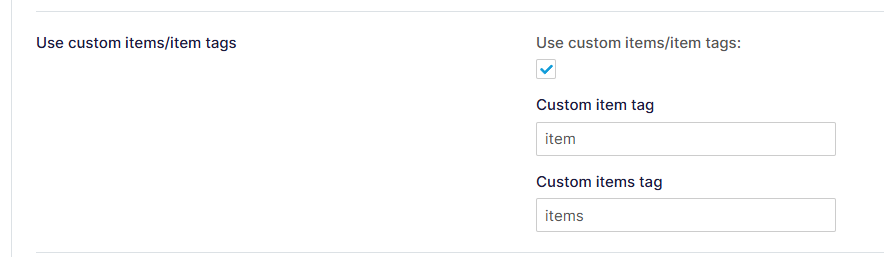
Settings
Enable "Use custom items/item tags":
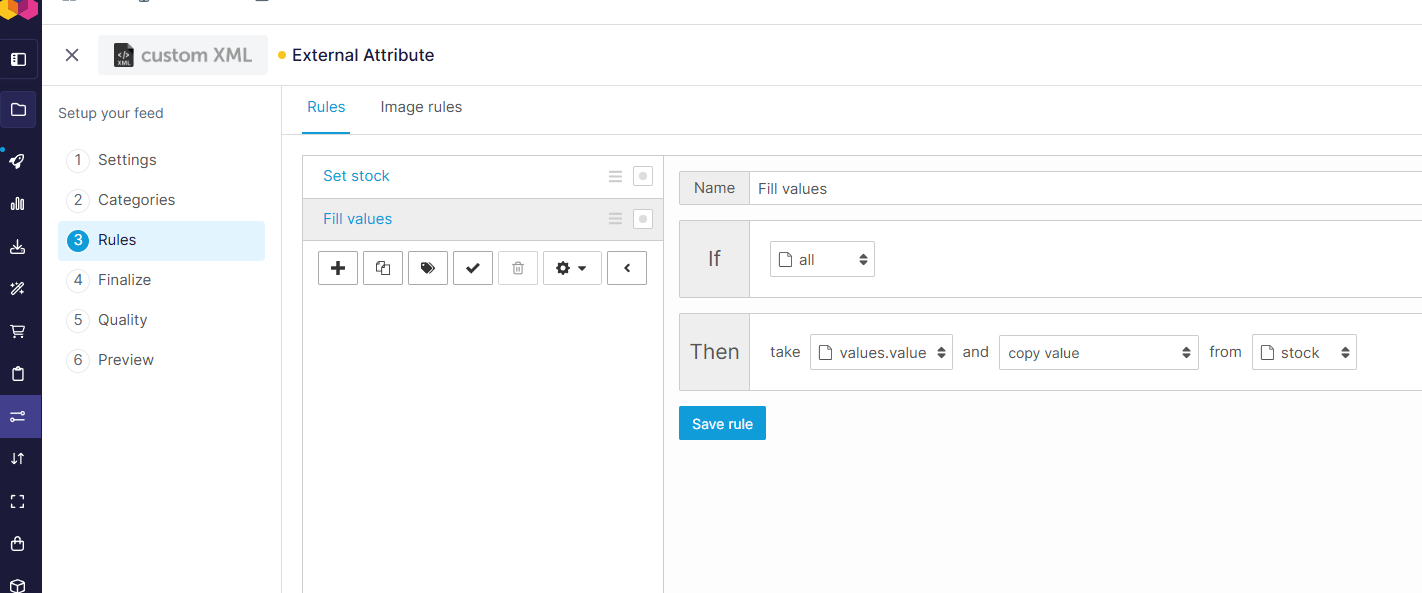
Rules
Create a rule to fill "values.value" with data, or add an import that contains this data.
Finalize
Map the mandatory internal fields to the Channel field names and add the item_type, link and image_link fields:

After hitting Save & run, the preview should display a valid Tweakwise feed for an attribute, including the required data:

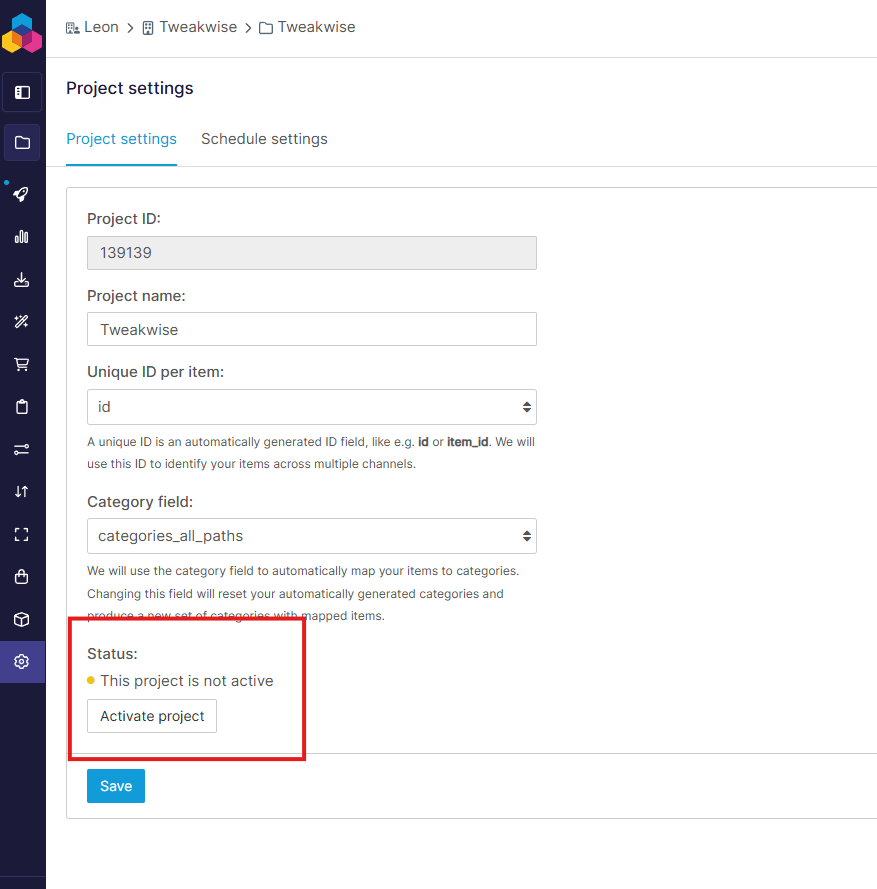
Activate
In settings, activate the feed and save the feed URL for later.
In Tweakwise
Follow steps 2, 3 and 4 in Import single attribute in Tweakwise.
Updated 10 months ago