Quick start
Before you begin to integrate, make sure you:
- Request your test account
This guide will help you gain familiarity with Tweakwise by having you perform some common tasks within the app. It is assumed you're starting with a newly created instance that hasn't been changed before.
In this guide, you'll learn how to:
- Import data into Tweakwise
- Configure your instance
- View results
Configuring your instance
Now that your instance has some products, we're going to make a configuration change to a filter template. Filter templates are used in a wide variety of different places. They're most commonly used for determining which filters your customers can use and how those filters should behave.
That's also how we're going to be using them in this tutorial. In specific, we're going to make it possible for customers to filter products based on color and size (for clothing articles).
Step 1: Open the template
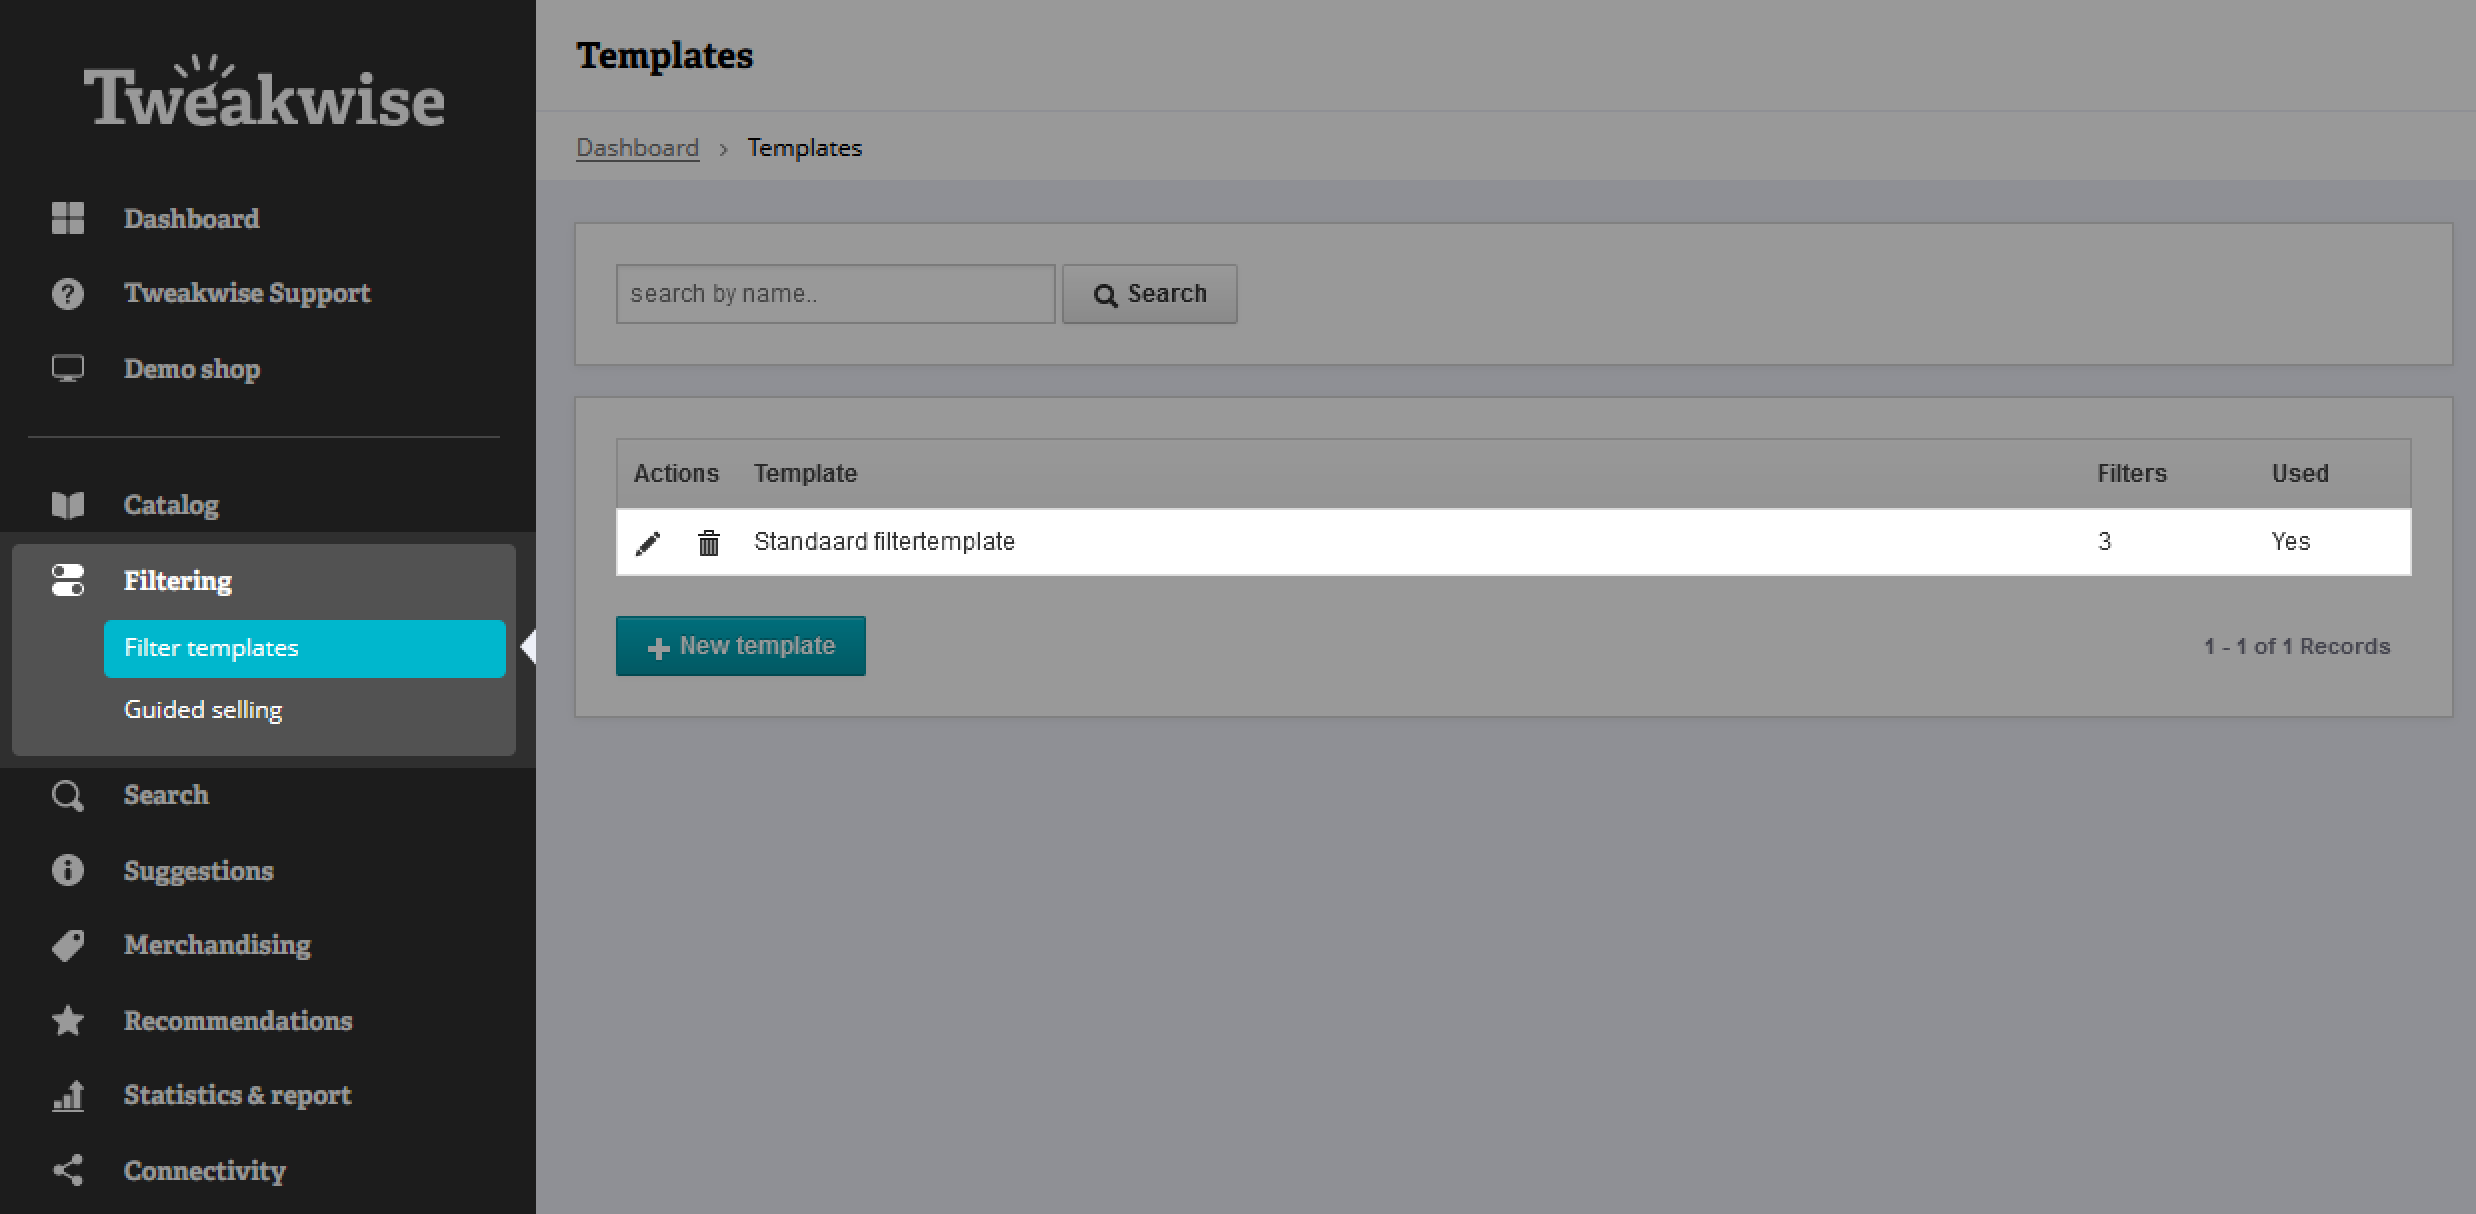
When your instance got created, a default filter template was already created for you. For this tutorial, we're going to reuse that filter template and edit it. You can find all of your filter templates by navigating to Filtering → Filter templates
Step 2: Add filters to the template
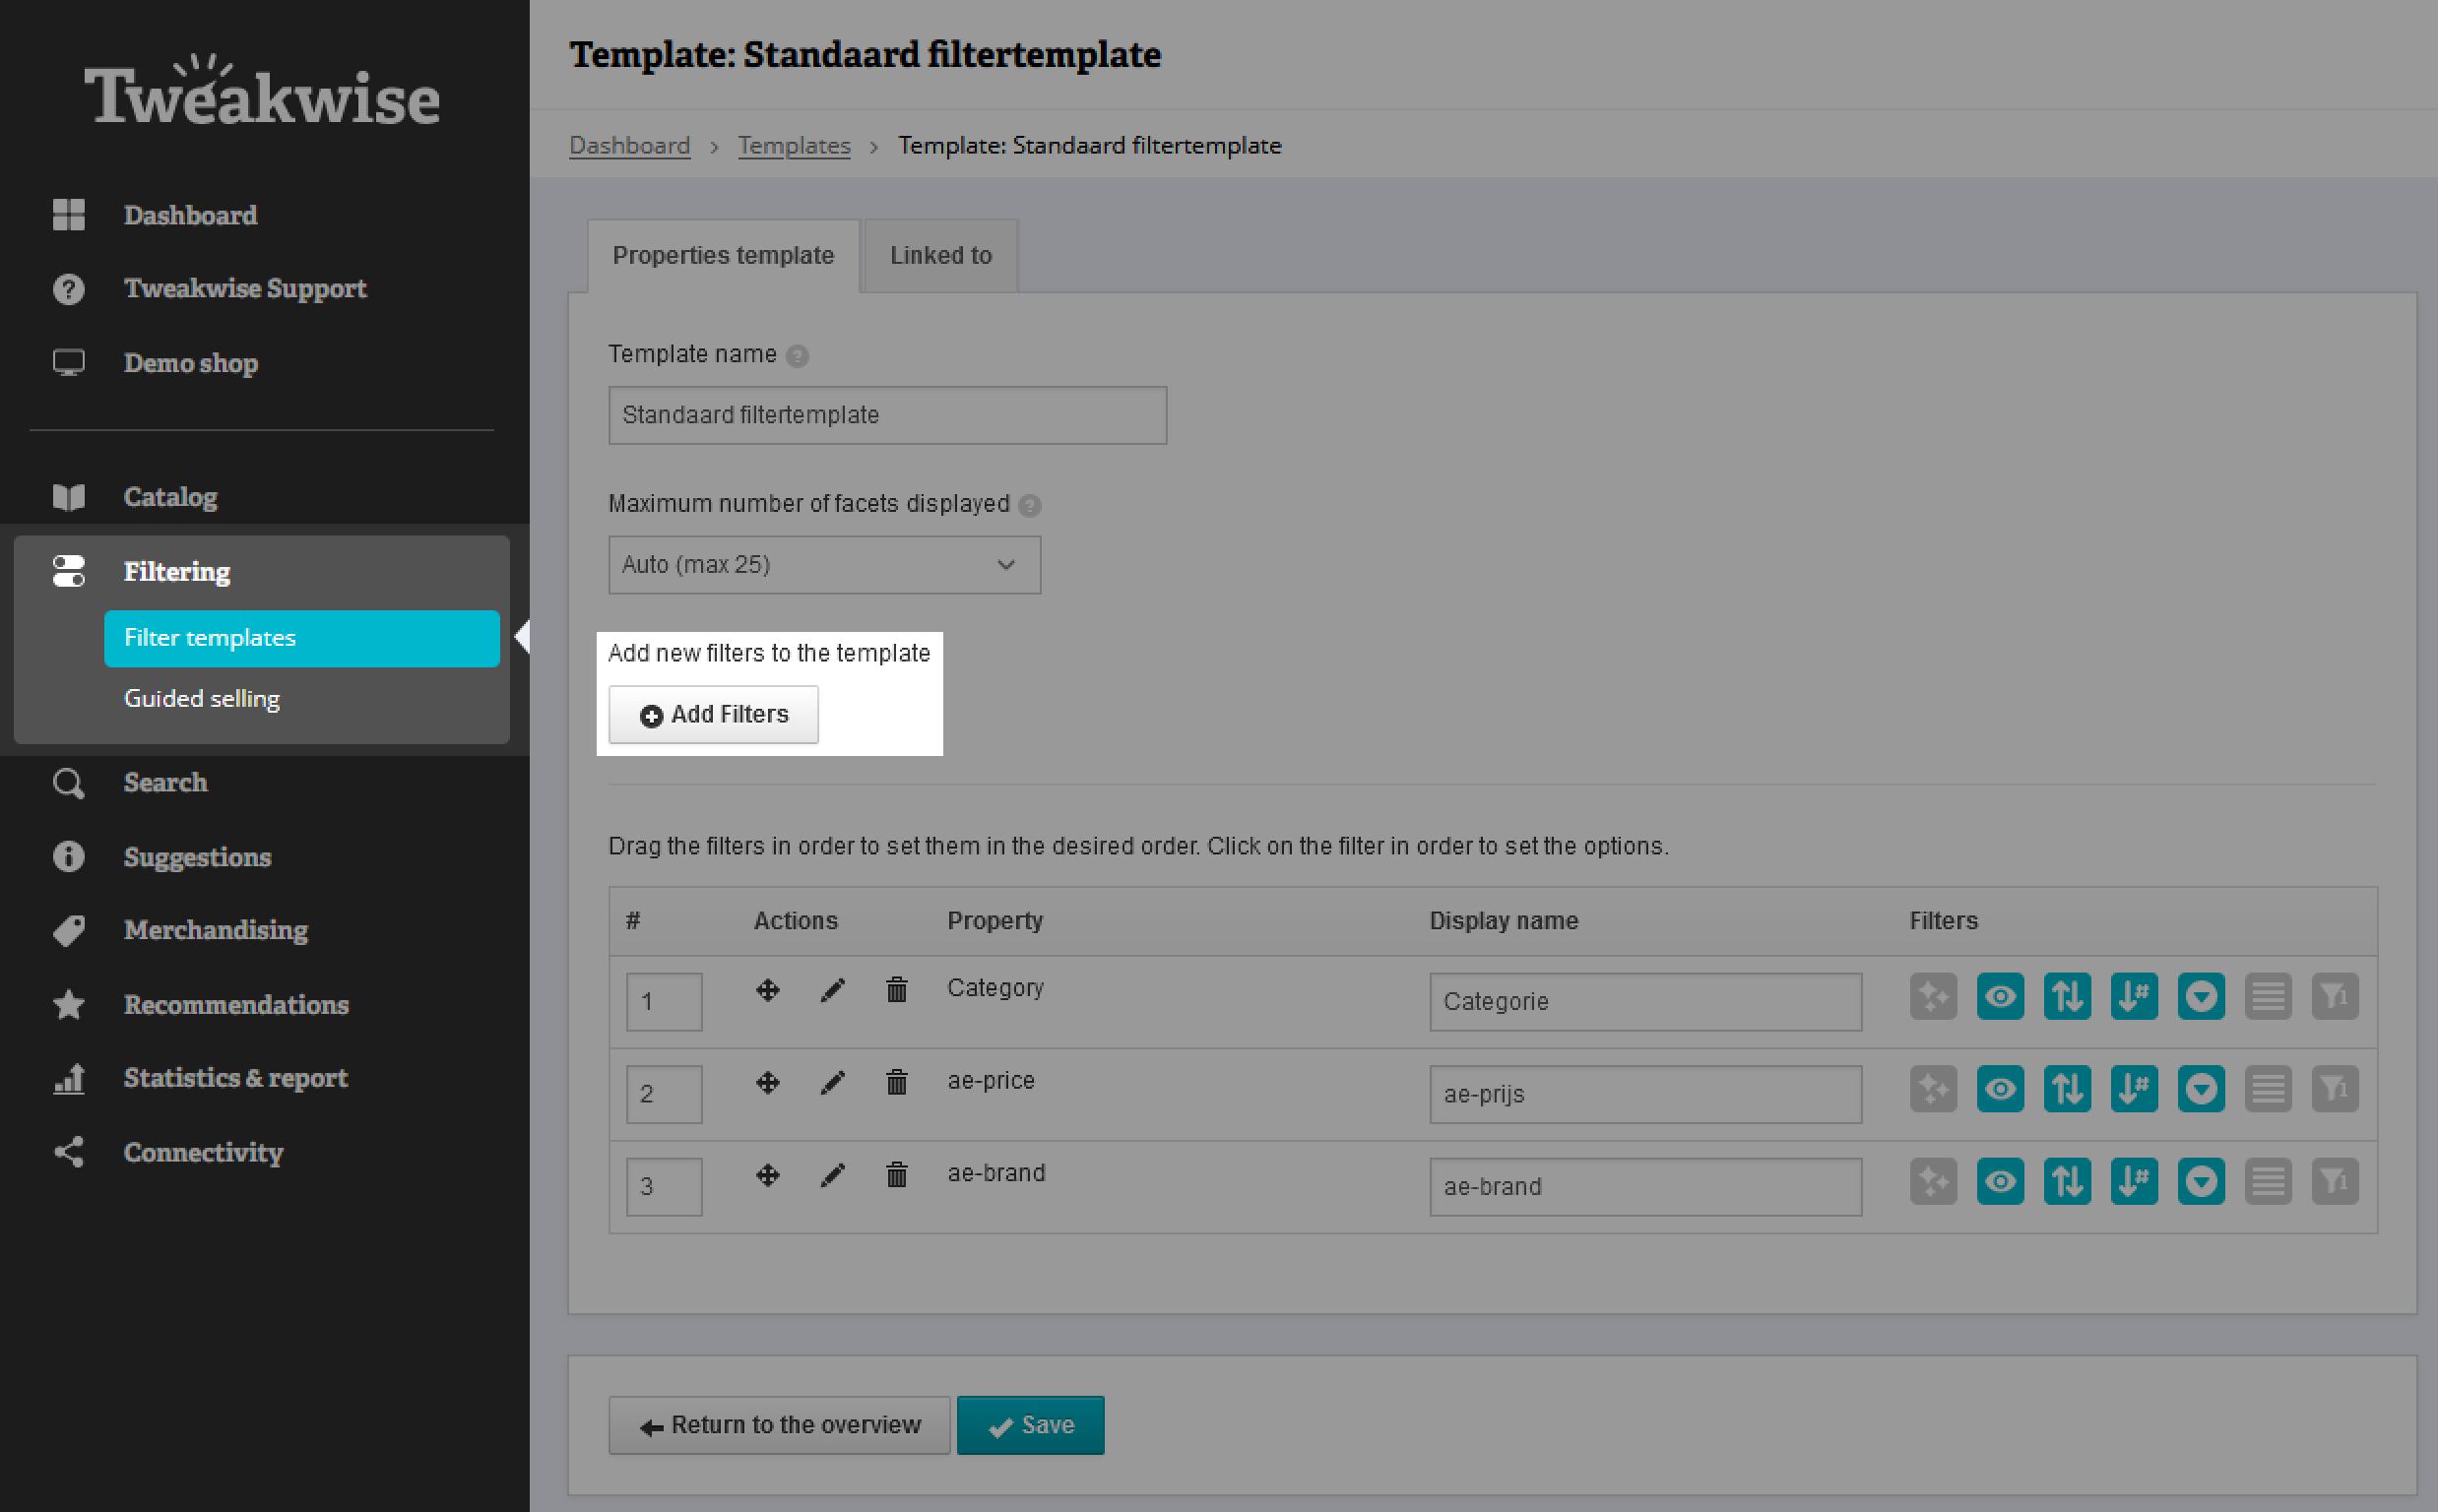
After opening the template, you'll see that the filter template already contains options to filter on category, price and brand. To add color and size as options to filter on, use the option to add new filters.
A modal will pop up asking you which new filters you would like to add. Select color and size here.

Step 3: Clean up and save the template
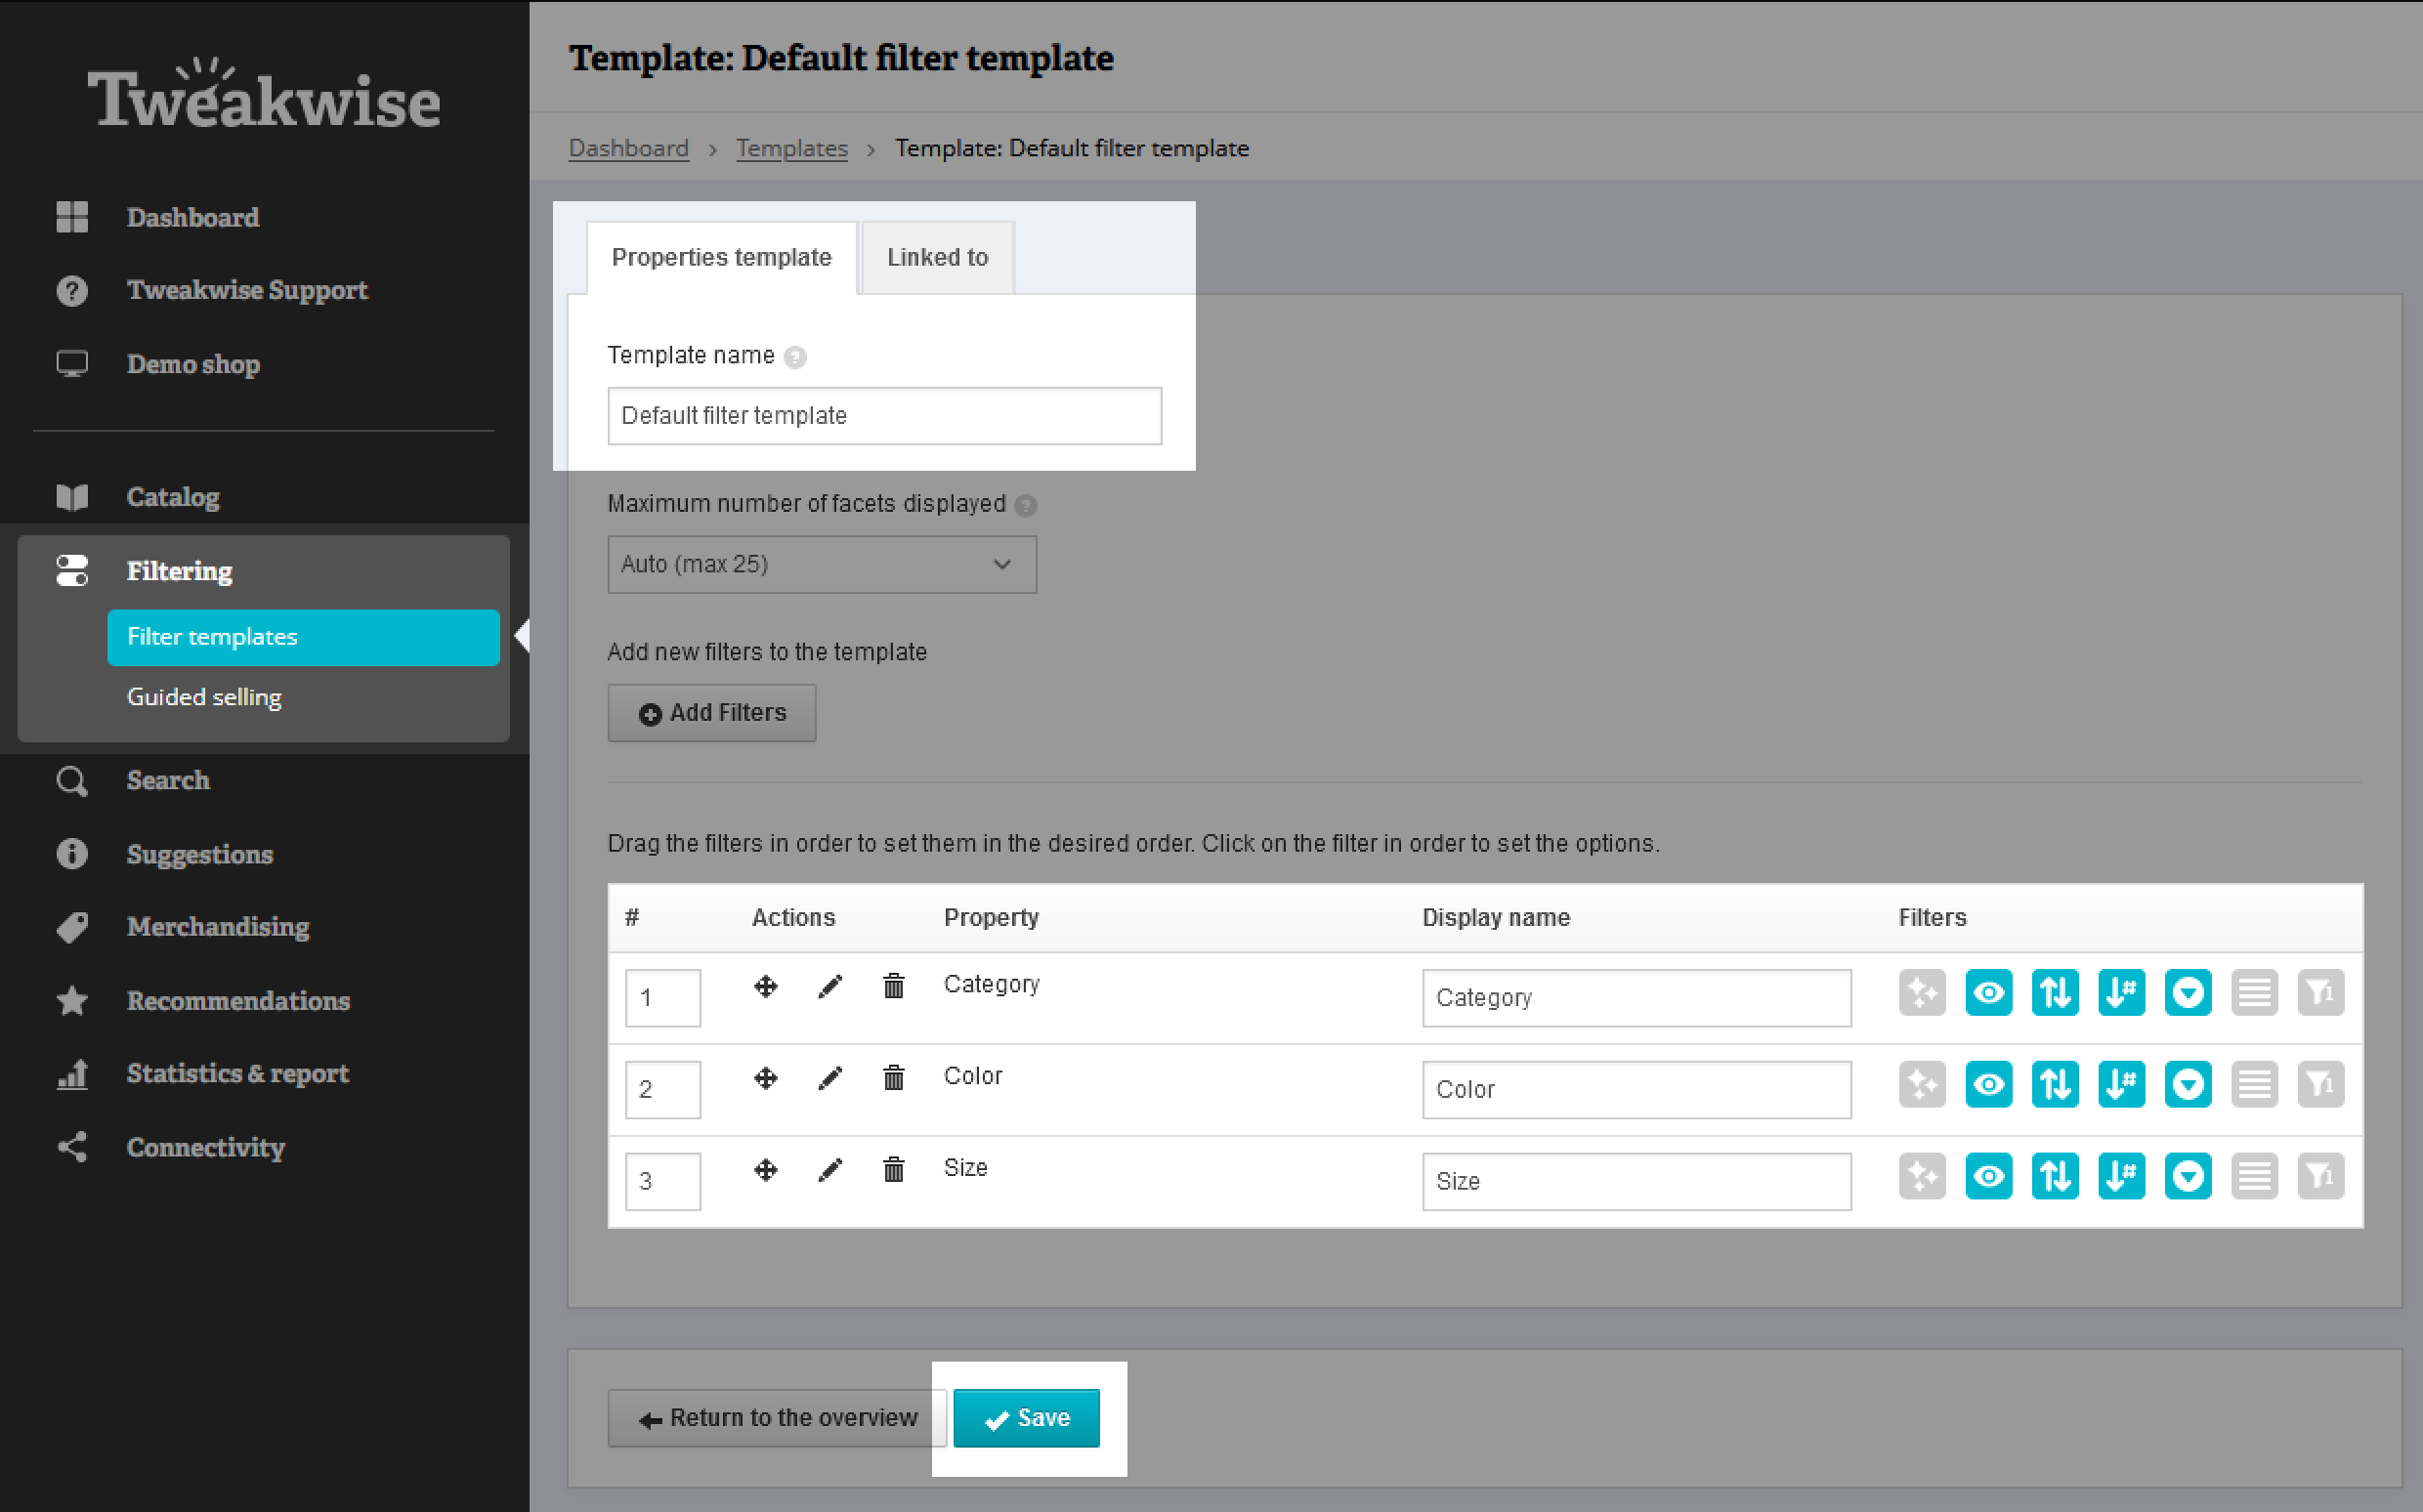
Last but not least, we're going to clean the template up by removing the price and brand filter options as we're not interested in those for this tutorial. In the end your template should look as shown below.
Viewing results
With out products imported and our configuration complete, we're ready to see our shop in action! This part focuses on what to do after you've made changes to your shop, like the configuration changes we did in the previous part.
Step 1: Publish the instance
All changes, whether it be importing new products or edits to filter templates, need to be published before they are visible in your shop. Normally, you'd automate this step and do it automatically at given time periods or after importing products, for example.
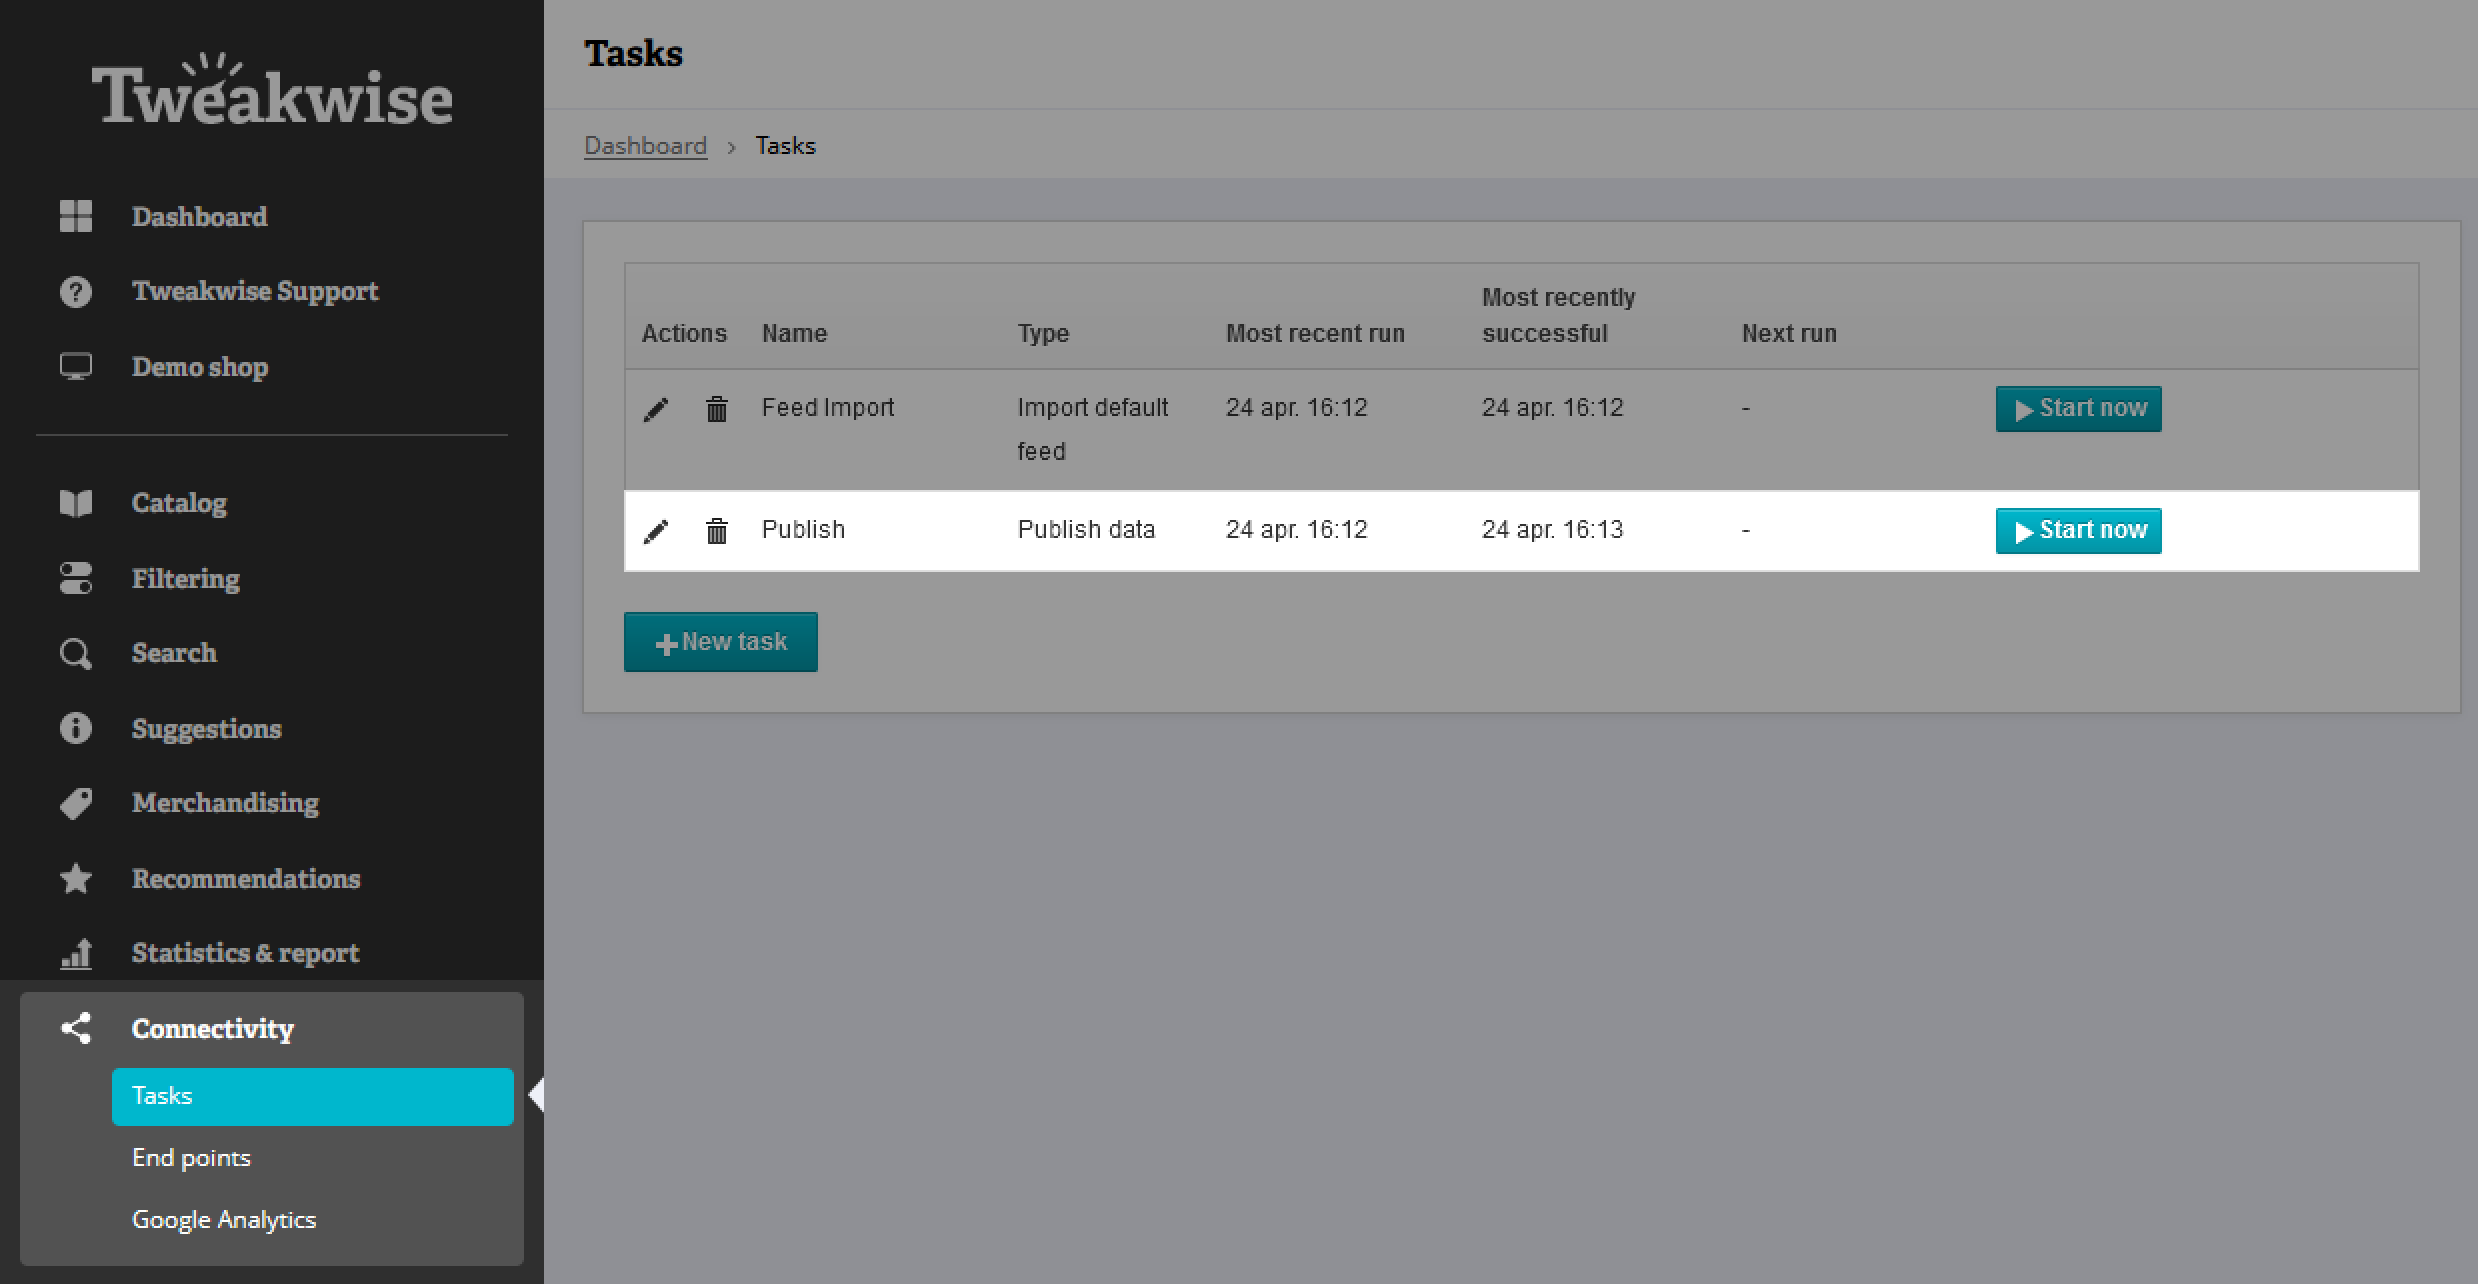
That's a bit too complicated for this tutorial, so we're going to publish our instance manually for now. Navigate to Connectivity → Tasks just as we did for running the feed import. You'll see that besides a feed import task, there is also a publication task. Start the publication to apply the changes that were made during this tutorial.
You might've noticed the publication task already ran once before, even though you didn't start it yourself. This is because by default the feed import task is configured to automatically start the publication task after it.
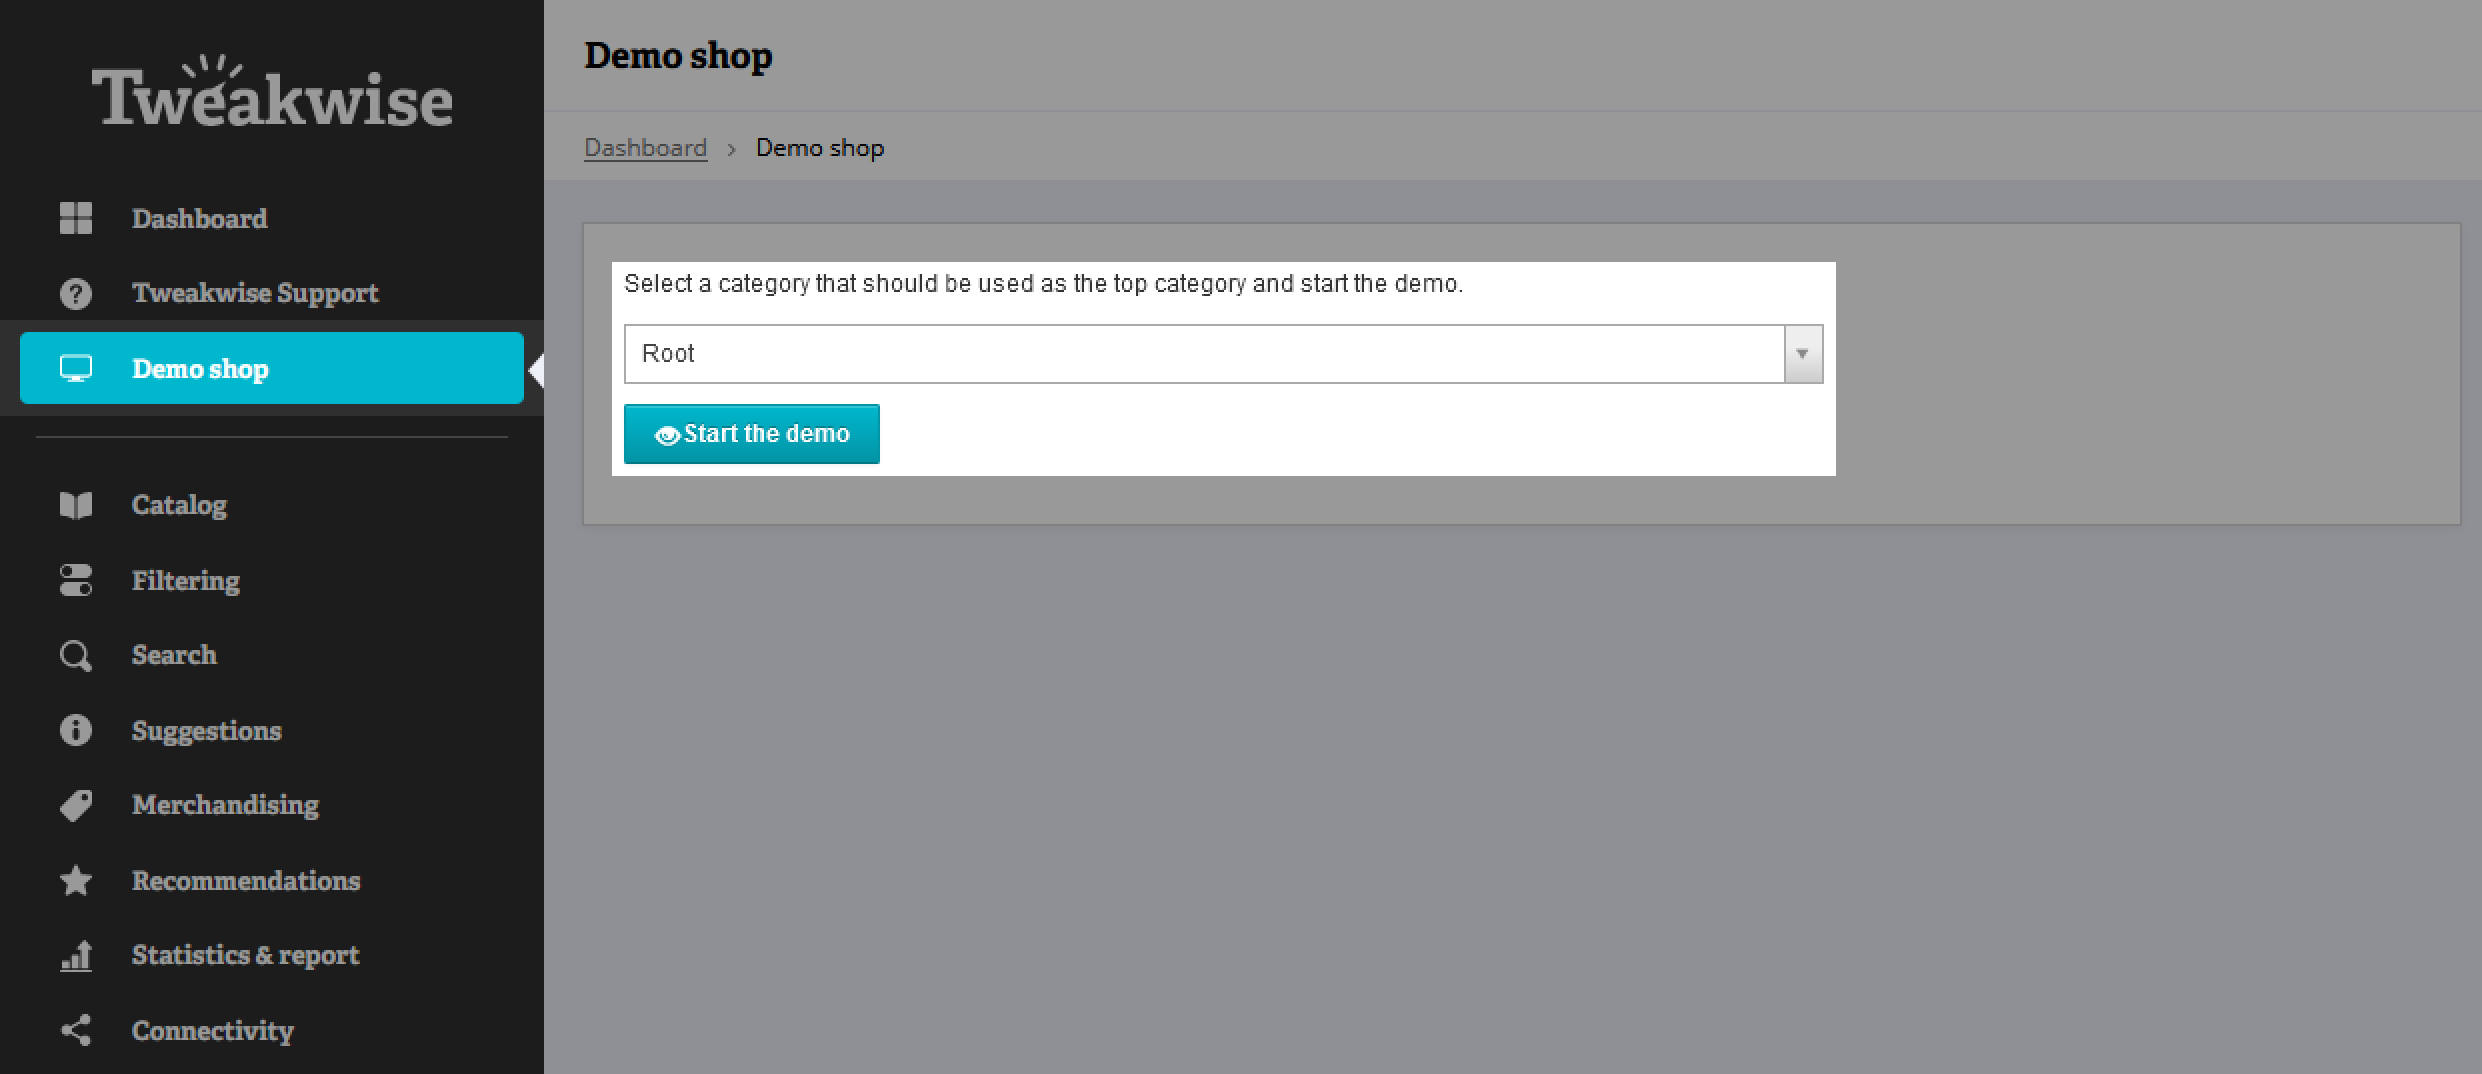
Step 2: Open the demo shop
With our products and configuration changes published, we can now view the result in the demo shop. To open the demo shop, navigate to Demo shop. Make sure to select root as the category for which to open the demo shop.
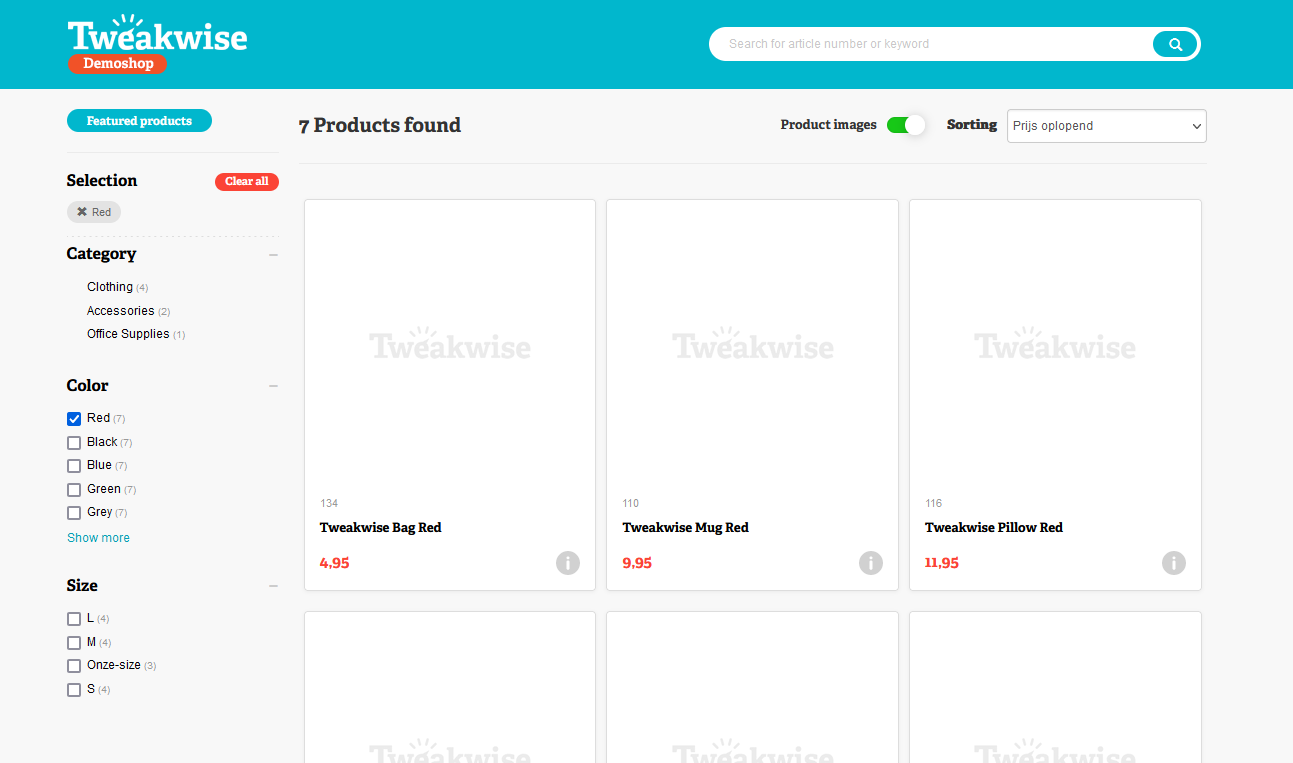
Step 3: View the results
In a new window the demo shop will open. Here you can see that you're able to filter on category, color and size. Just as we defined in our filter template!
What's next
Congratulations! You’ve now gotten acquired with some of Tweakwise's fundamental concepts like data importing and publishing. This will have given you a foundation that will be helpful if you want to further expand your knowledge about the platform.
If you want to further explore all of Tweakwise’s features, feel free to do so with the product catalogue used in this tutorial. Instead if you’d like to first get your own data imported, then reading the Importing data guide is the recommended next step.
Updated 5 months ago