
AvailabilityThe landing pages functionality is available from version 4.12 (Shopware 6.5 & 6.6) and 5.11 (Shopware 6.7) of the sw-tweakwise plugin.
With attribute landing pages, you can create separate pages based on a selection of attributes while utilizing Tweakwise functionality. This article guides you through setting up a landing page in the Shopware Admin environment.
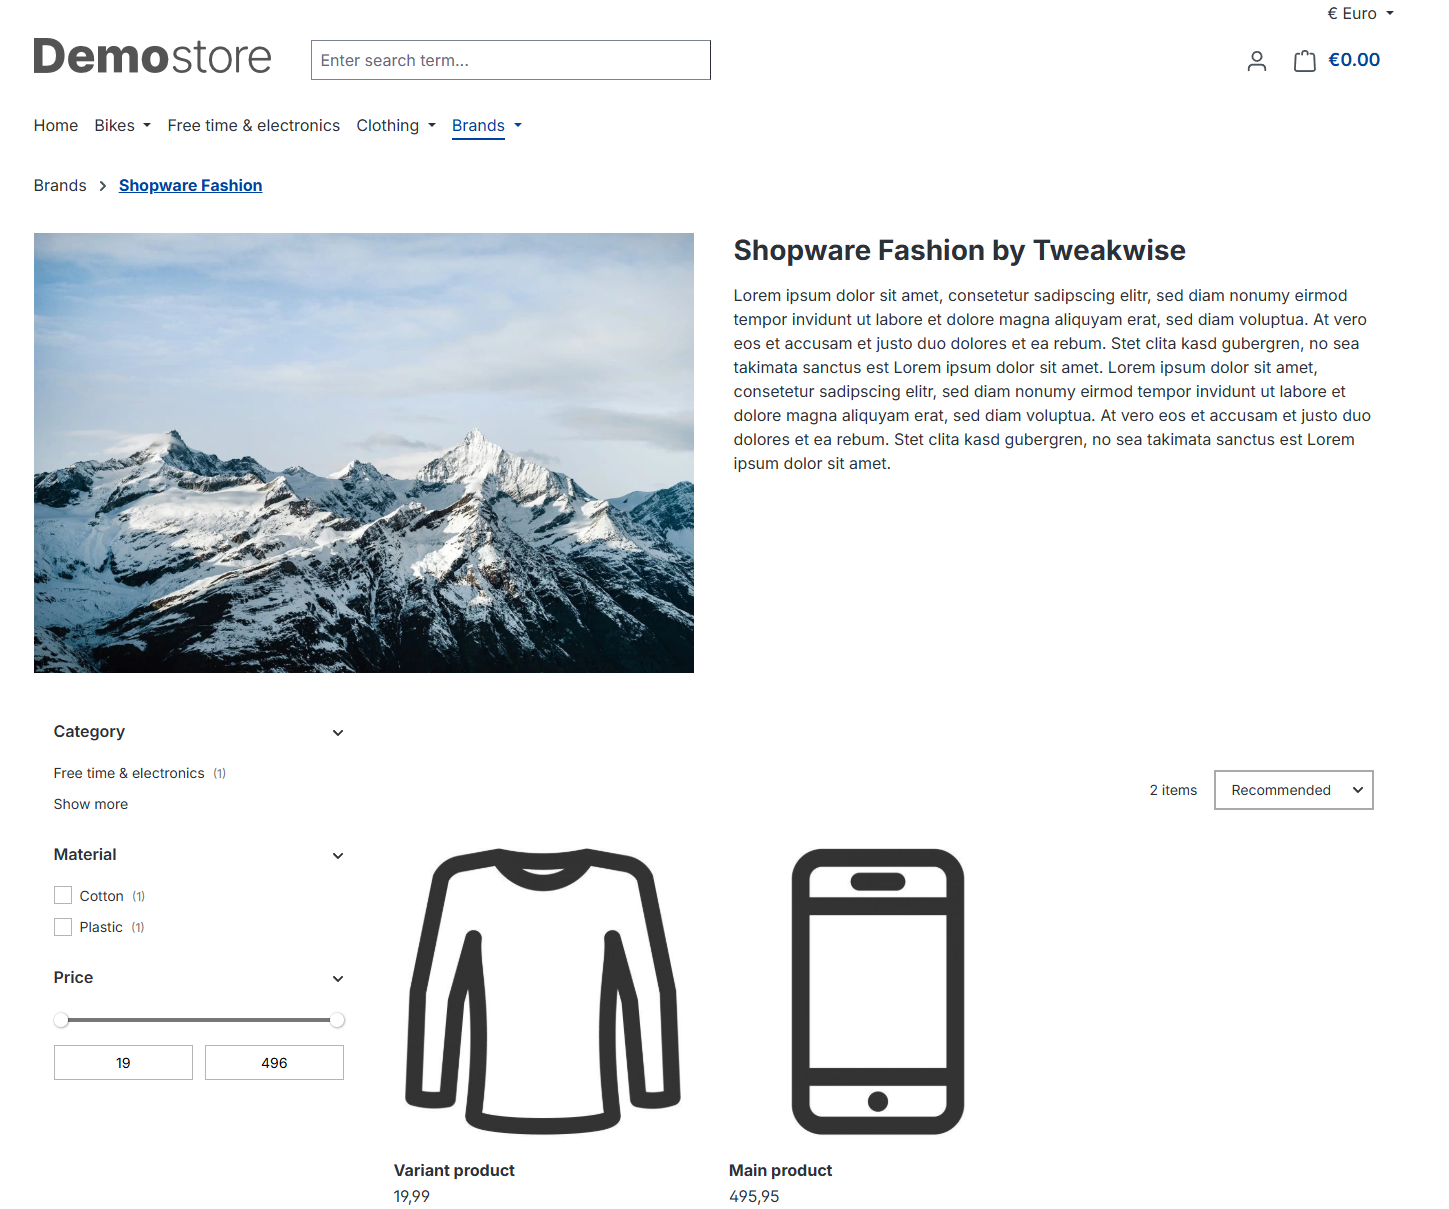
The landing page module is a perfect way to create brand pages, without the need to create separate categories with their own subcategory structure.
Creating and configuring the template
- Go to Content > Shopping Experiences
- Click Create new layout
- Select Landing page
- Select Full width
- Give it a name and click Create layout
- Under Blocks > Block category, select Tweakwise
- Drag the Attribute Landing Page block to the page
- Click the cog icon on the block
- Set the default settings. Please note that these settings can be overridden at a later stage.
- If you want more blocks (e.g., for title, text, and image), add them to the layout as well
- Click Done to submit the settings
- Save the landing page template
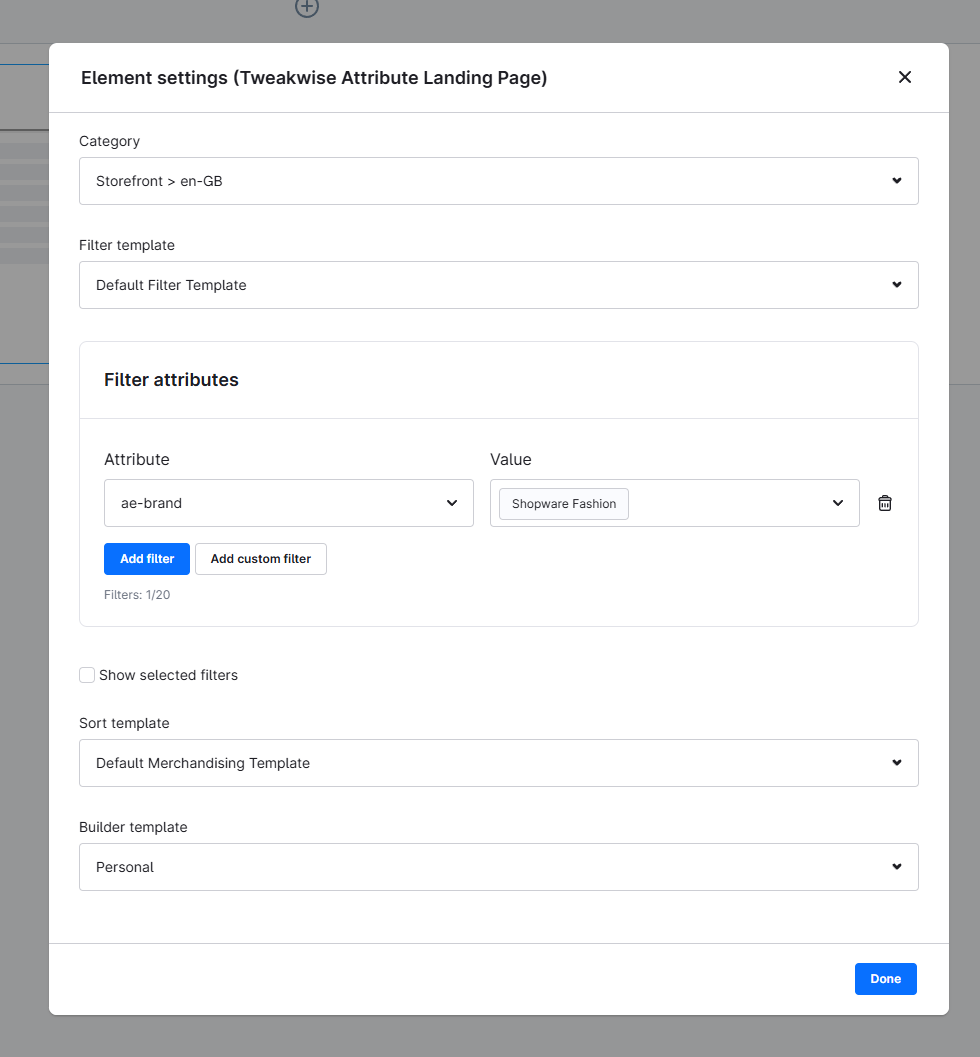
Configure the landing page to show the desired selection of products based on category and attributes. Select the Tweakwise configured templates to configure sorting, filter and builder options.
Creating a landing page with the created template
There are two options for creating a Landing Page: using the Landing Page functionality, or assigning it as a category layout.
Landing Page Layouts (Direct Assignment vs. Landing Page Entity)
In Shopware 6, once you create a Landing Page Layout within the Shopping Experiences , you have two ways to deploy it:
- Assign it directly to a Category (using the layout to override a standard category page).
- Assign it via the Landing Page functionality (creating a standalone Landing Page entity under Marketing/Category settings).
The table below explains how the exact same layout behaves depending on the deployment method you choose.
Comparison at a Glance
| Feature | Assigned directly to a Category | Assigned via Landing Page Functionality |
|---|---|---|
| Navigation & Menu | Automatically visible within the main navigation tree. | Hidden by default (must be linked manually). |
| URL Structure | Follows the category hierarchy (e.g., /clothing/men/). | Custom, flat URL (e.g., /summer-sale or /black-friday). |
| Target Audience | Organic visitors browsing through the webshop. | Targeted traffic from newsletters, ads (SEA), or social media. |
| Content Focus | Dynamic product listings mixed with branding elements. | Highly focused on conversion, storytelling, or specific campaigns. |
| Lifespan | Permanent (core part of the e-commerce store). | Temporary or campaign-specific (e.g., seasonal events). |
When to use which deployment method?
- Choose "Assign to Category" if you want to use the Landing Page layout to permanently customize or enhance the look and feel of a standard shop category or menu item.
- Choose "Landing Page Functionality" if you want to use the layout for a targeted marketing campaign (such as an influencer promotion, giveaway, or holiday sale) where you want a clean, isolated URL without disrupting your main shop structure.
Assigned directly to a category
- Go to Categories
- Right-click on the location where you want to add the category and click one of the options to create the category
- Give it a name and select it to edit
- Fill in the options under the General tab:
- Activate the landing page
- Select Page / List as the page type
- In the Layout tab, change the layout to the landing page layout you created before:
- Adjust the landing page settings to override the defaults you set in the template layout (e.g., to select the brand for your brand page).
- Click Save
Your landing page is now available in your main menu.
Assigned via landing page
- Go to Categories
- Under Landing pages, click Add Landing page
- Fill in the options under the General tab:
- Give it a name
- Activate the landing page
- Set the Sales Channel(s)
- Set the SEO URL
- In the Layout tab, change the layout to the landing page layout you created before:
- Adjust the landing page settings to override the defaults you set in the template layout (e.g., to select the brand for your brand page).
- Click Save
You now have a landing page that is available under the specified URL. You can still link to it in the menu using the "Link" category type.
Settings
A landing page entity has multiple Tweakwise settings (all required) in the Layout tab.
| Setting | Description |
|---|---|
| Category | The category that the products of this landing page must belong to. |
| Filter template | Select the template that should be used for this page. |
| Filter attributes | Add filters to create a sub-selection of the products you want to show based on these filters. Use custom filters if you cannot select the name or the value in the list. Note: These attributes must be available on the selected filter template or marked as a hidden attribute in Tweakwise to be applicable. |
| Show selected filters | Check this if you want to display and preselect these filters on the page. Note 1: The attributes must be available in the filter template. Note 2: If you deselect the selected filters, all products in the selected category will become visible. |
| Sort Template | Select the Tweakwise sort template you want to use for this functionality. |
| Builder Template | Select the builder template you want to use for this functionality. |
Publish!All data in the selection boxes (attributes & templates) is pulled from Tweakwise. Only published data in your instance is available.